M Baas
I am a machine learning researcher at Camb.AI. I post about deep learning, electronics, and other things I find interesting.
Raspberry Pi 3B - simple motion detection
by Matthew Baas
A quick simple project to make a simple motion detecting camera with the minimum requirements. The end result is to have a Raspberry Pi that sends you a short video on Telegram when it detects motion.
Required Components
- Raspberry Pi 3B
- Raspberry Pi Camera Module V2
- Power supply for your Raspberry Pi.
Here is what they look like:
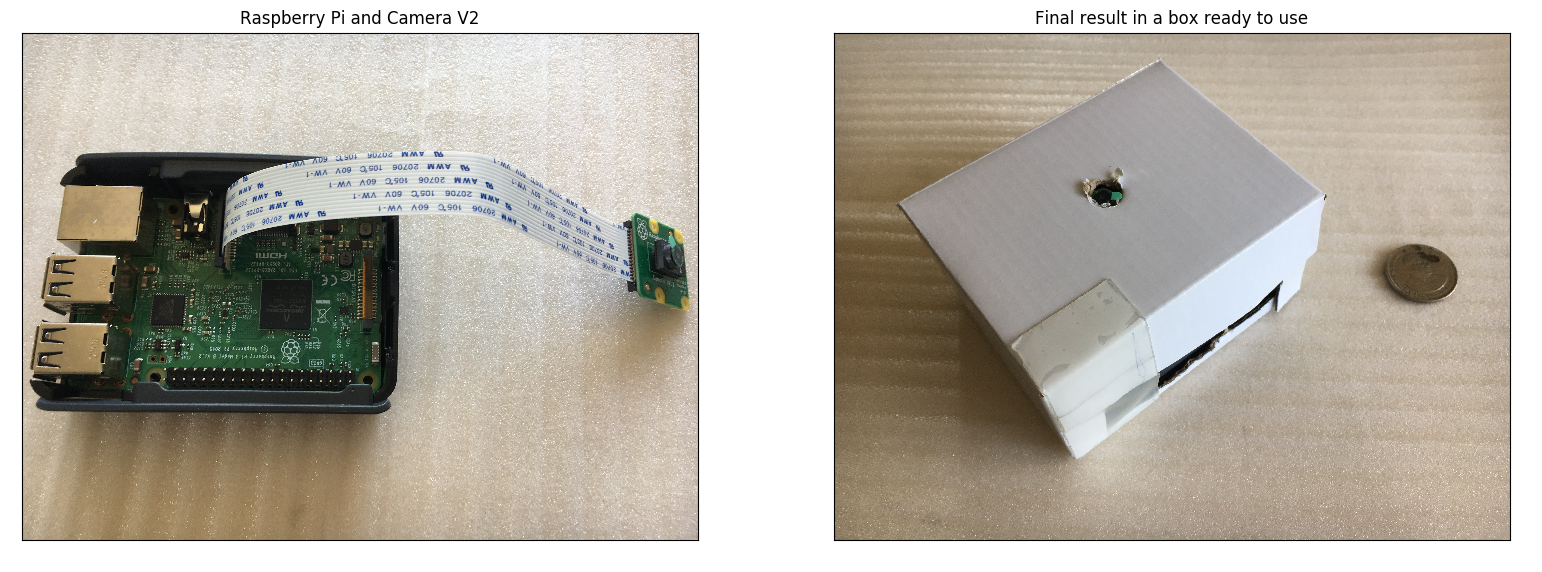 *FlexTape was used in constructing the box
1. Setting up Raspberry Pi
Just a simple default raspbian install will work. Follow a getting started guide if you have just bought your Raspberry Pi.
2. Enable and plug in camera
- Turn off Raspberry Pi
- Plug in Camera Module V2
- Turn Raspberry Pi on
- In terminal, run ‘
sudo raspi-config’, and navigate tointerfacing options > P1 Camera > enableto enable the camera. Then reboot.
3. Install software prerequisites
We will update OS and install gpac and python-telegram-bot:
sudo apt-get update
sudo apt-get upgrade
Installing python-telegram-bot (from source since pip installer broken for Raspbian at the date of this post):
git clone https://github.com/python-telegram-bot/python-telegram-bot --recursive
cd python-telegram-bot
python setup.py install
Installing gpac (allowing us to convert h264 videos into mp4, since Camera V2 gives h264 which does not stream to Telegram, see this for more info):
sudo apt-get install -y gpac
4. Code
If you want the easy version, clone the git repo with the code and go:
- Register a Telegram bot (a quick DuckDuckGo search will show you how to) and get its
token. - Start a chat with the bot from a phone and obtain the
chat_idbetween the phone and the bot. One way of doing this (since it is once-off) is to go into the python console and run:>>> import telegram >>> bot = telegram.Bot(token='your token from step 1') # Start a chat with your bot from your phone now >>> update = bot.get_updates()[0] >>> chat_id = update.message.chat_id - Now save the bot’s token and your chat id in a json file for the program:
>>> import json >>> info = {'token': 'your token from step 1', 'my_chat_id': chat_id} >>> open('bot_info.json', 'w').write(json.dumps(info)) - Run
python3 motion_detection.py - Done!
Now that was quick yes? The rest of this post is optional, explaining what went on inside the code, which might be useful if, for example, you wanted to edit it to use in your own project. So, delving into motion_detection.py we’ll first go over the config settings you can change.
Configurable settings
All these are at the top of the motion_detection.py script and can be changed to whatever is needed for you application:
record_length: the length of the video to record once motion has been detected (i.e this is the length of the video sent to your phone)debug: prints more stuff if you are debuggingmin_interval: the minimum amount of time between successive motion detectionscamera_framerateandcamera_rotationare, as one would suspect, the framerate (max 30) and rotation (if you put your camera at some angle)upload_resolution: a (width, height) tuple for the resolution of the uploaded image. The bigger this is, the faster internet the device needs to send the video to avoid timeout errors.stop_after: how many seconds you want to run the program for. If it is set toNoneit runs forever.
Now the last two settings require some explanation of how the detection works:
Detection process
TL;DR: the camera groups blocks of 16x16 pixels into ‘macro-blocks’. So the super simple and crude way to detect motion that we use in this code is to compare the current frame with the last frame and ask: “Did the pixels in at least ‘ n_blocks_threshold ‘ macro-blocks change by at least ‘ blockdiff_threshold ‘ (in pixel value)?” If so, trigger a detection. The default setting in the script does a fairly good job at detecting a motion of a human arm about 3m away.
So it should dawn that by changing n_blocks_threshold and blockdiff_threshold we can change the detection characteristics. For example, if we set n_block_threshold to be higher than the default, it would mean that more macro-blocks need to see a change before we trigger a detection. So if you set this right it could make the detector pet-friendly, since they are small and shouldn’t cause as many blocks to change as a human would. Or if we set blockdiff_threshold super high and n_blocks_threshold super low the camera would end up triggering on any motion, even by a small object (since only a few blocks must see the change), that is very close up (since the pixels in that block must change a lot when blockdiff_threshold is high, so the motion must be close up or sweep over its pixels rapidly).
By tweaking these two settings, you can change the detector from something that detects only when you wave your hand right in front of it, to something that detects when it sees a few fingers lifted from several meters away. This detection method is described nicely in the docs for picamera if you wish to learn more.
Telegram integration
The code for this is super simple with python-telegram-bot. Inside telegram_util.py there is only one important line:
self.bot.send_video(chat_id=chat_id, video=open('output.mp4', 'rb'), supports_streaming=True)
The other functions are used for possible future extensions where you could send a message to the bot and it would send back a video clip, or to make the bot send detection video clips to multiple users. Again this part is optional, and some other projects use email or a web server as the way to interact with the Raspberry Pi. But I found Telegram to provide the cleanest and most effective solution, since no matter where I am, if motion is detected, my phone will immediately get a message notification from Telegram with a video clip.
Custom tweaking
If you want to edit the code and see what works for in your case, please check out the code repo. I made this guide/post since, when doing this myself, I had to spend far too much time looking at old guides that didn’t really work anymore and hacky workaround solutions that had all sorts of complications, and wanted something clean, simple, and robust. The code is short and should be quite readable. If you tried to follow this with your own setup, I hope it was reasonably painless.
tags: DIY - raspberry pi - motion detection